> ## Documentation Index
> Fetch the complete documentation index at: https://docs.tensor9.com/llms.txt
> Use this file to discover all available pages before exploring further.
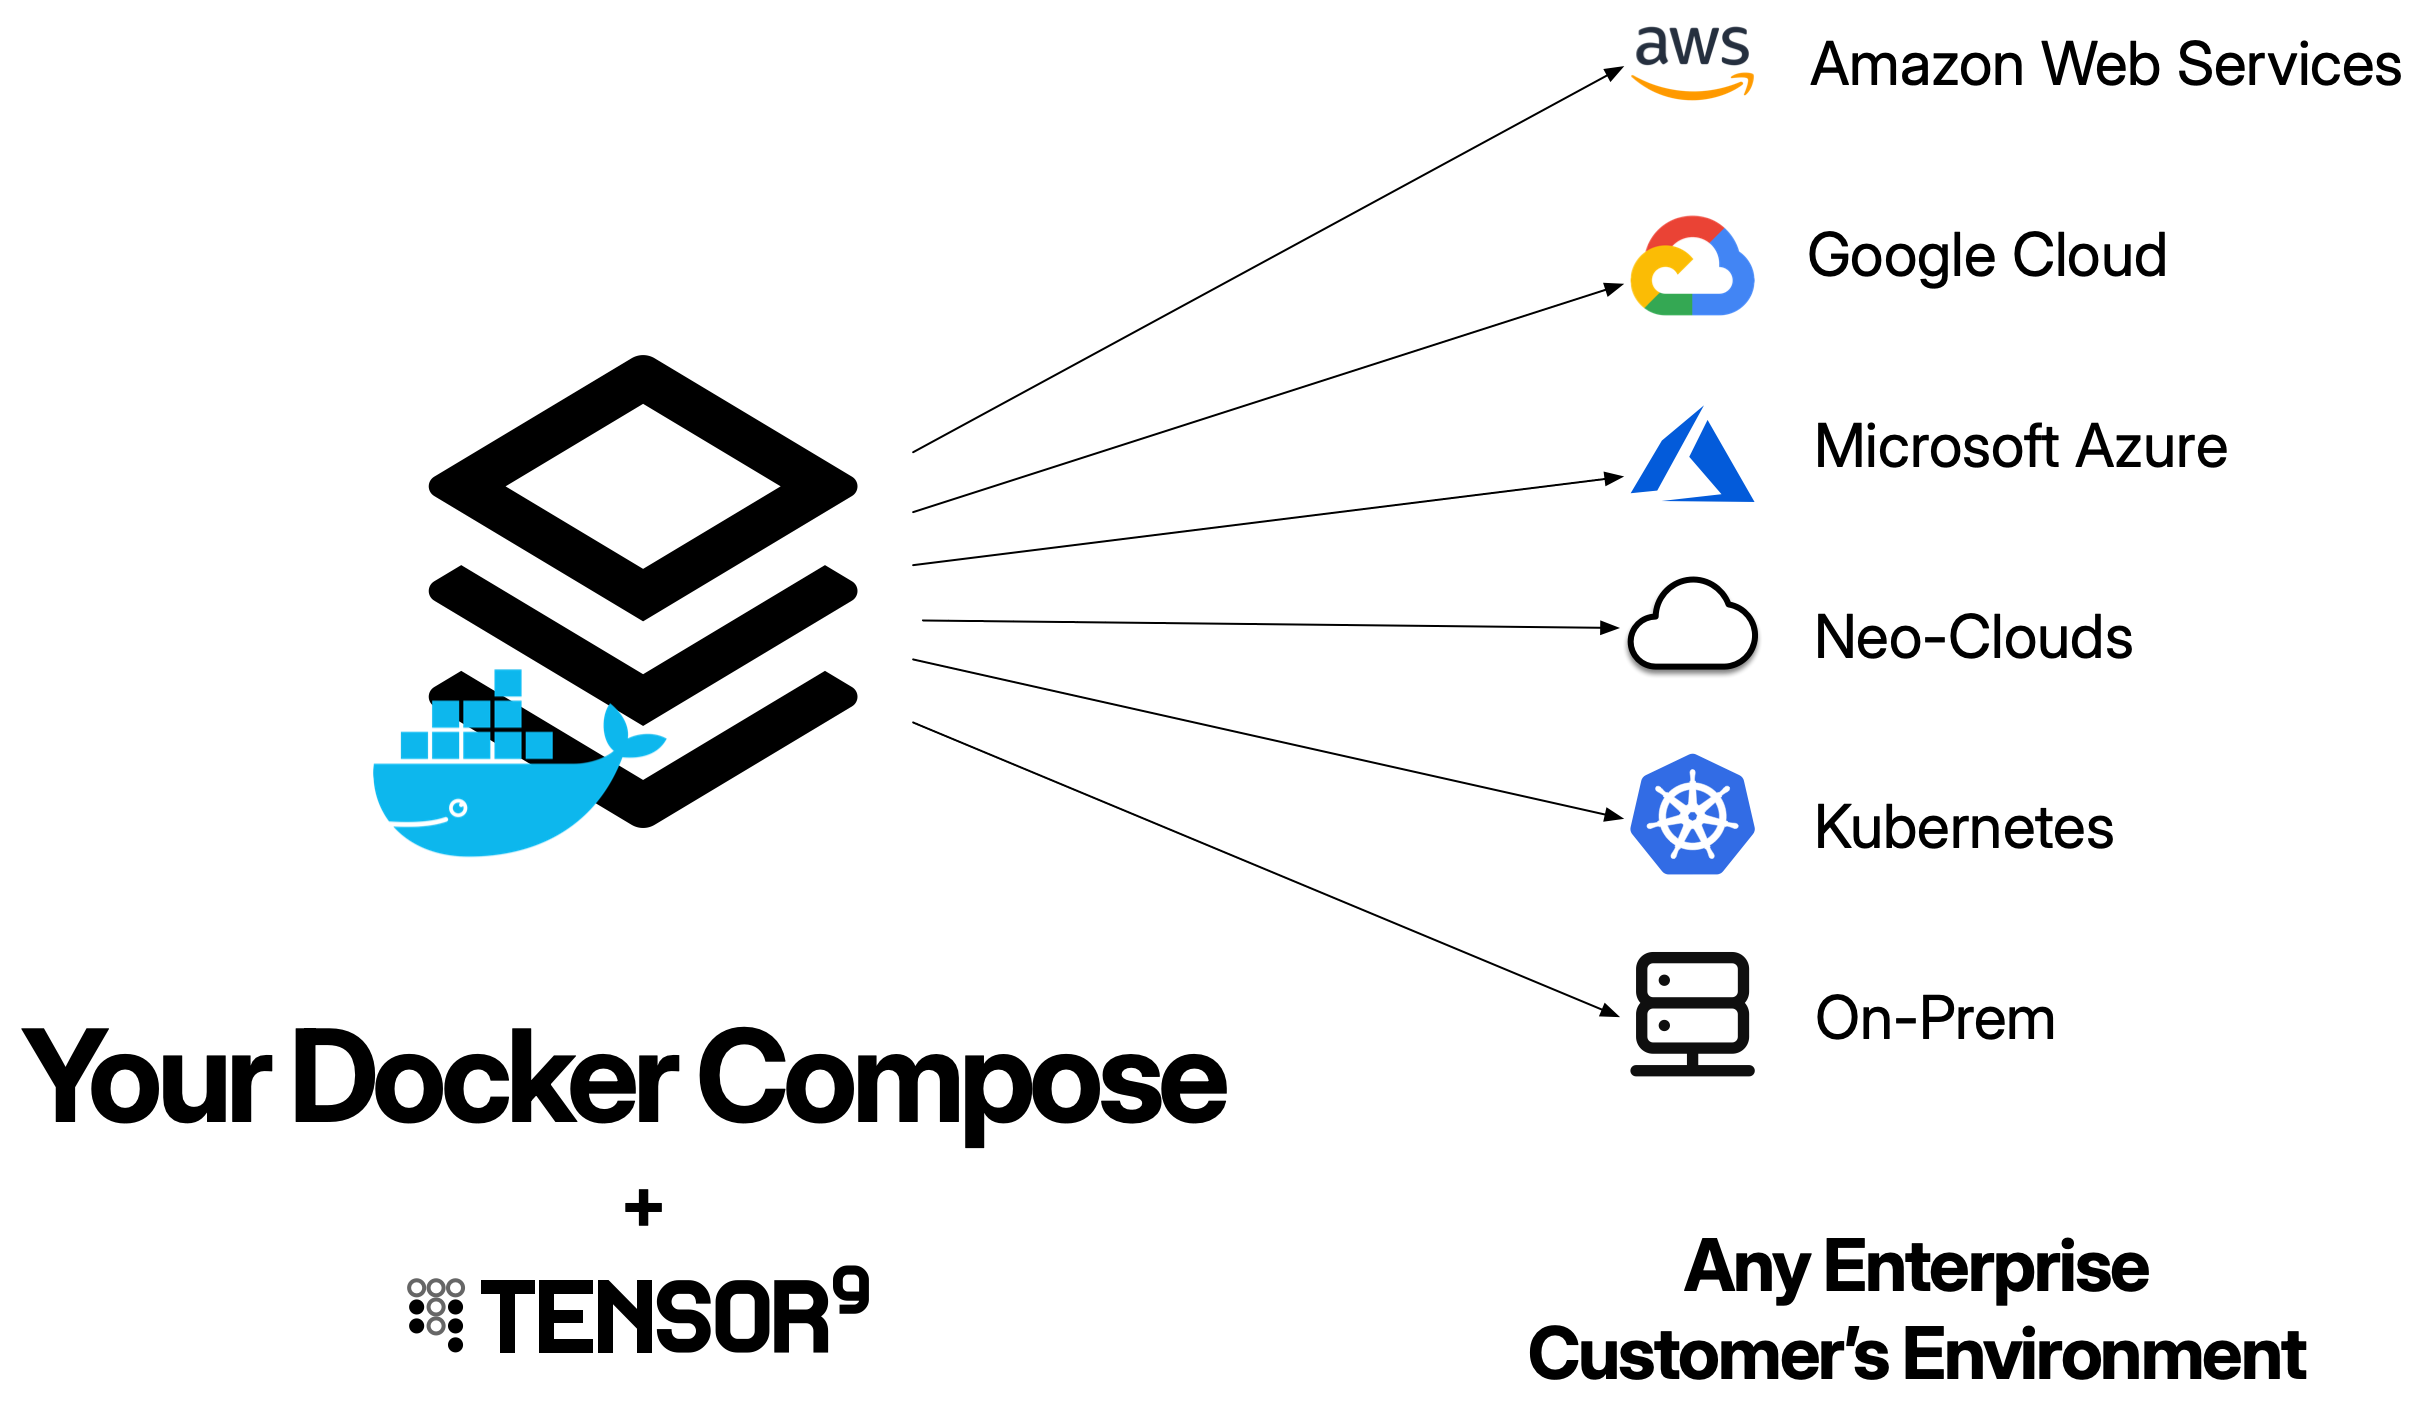
# Quick start: Docker Compose
This quick start guide explains how to use Tensor9 to deploy your existing Docker Compose app as a private appliance.
 As you follow this guide, you will:
* Set up a Tensor9 control plane in your AWS account and bind a Docker Compose file as the origin stack for your app.
* Test your app running in an appliance.
* Release infrastructure changes.
## Prerequisites
* Send an email to [hello@tensor9.com](mailto:hello@tensor9.com) and request an API key. You must have an API key to complete the quick start.
* Create an AWS account for Tensor9. We will refer to this as the Tensor9 AWS account.
**Important:**
* Your Tensor9 AWS account should be a dedicated AWS account used only for Tensor9. This reduces the risk of conflicts between your app deployed in a Tensor9 appliance and any other software, infrastructure, or resources you might have in a general-purpose AWS account.
* Your Tensor9 AWS account must be located in a United States region. Support for non-US regions will be available in the near future.
* Install [AWS CLI](https://docs.aws.amazon.com/cli/latest/userguide/cli-chap-getting-started.html) in your environment, and [set up an AWS CLI profile](https://docs.aws.amazon.com/cli/v1/userguide/cli-configure-files.html) that has admin permissions to your new AWS account.
* Have a docker-compose.yml file ready with your multi-container application.
* Ensure all container images referenced in your compose file are pushed to container registries (ECR, Docker Hub, GitHub Container Registry, etc.).
## Install OpenTofu or Terraform
In your environment, you'll need to install Terraform/OpenTofu CLI.
This guide assumes you are using OpenTofu and uses the `tofu` command throughout.
## Install Tensor9 CLI
Install the **tensor9** CLI via Homebrew (recommended):
```bash theme={null}
brew tap tensor9ine/tensor9
brew install tensor9
```
Alternatively, install via the install script:
```bash theme={null}
curl -sSL https://t9-artifacts-prod-1.s3.us-west-2.amazonaws.com/install-latest.sh | sh
```
Then set your Tensor9 API key:
```bash theme={null}
export T9_API_KEY=
```
**Note:** An API key is required. If you do not have an API key, send email to [hello@tensor9.com](mailto:hello@tensor9.com) to request one.
## Set up a Tensor9 control plane and create a new app
1. Set up a Tensor9 control plane in your new AWS account (this takes several minutes to complete):
```bash theme={null}
tensor9 vendor setup \
-cloud aws \
-region \
-awsProfile
```
2. Create a new Tensor9 **app**.
```bash theme={null}
tensor9 app create -name compose-quickstart -displayName "Compose example app"
```
**Note:** The length of the `displayName` field must be 32 characters or fewer.
## Publish your Docker Compose file and bind it to your app
Tensor9 works by compiling your docker-compose.yml file for each appliance you want to deploy to. Your next step is to **publish** your compose file to your Tensor9 control plane:
```bash theme={null}
tensor9 stack publish \
-stackType DockerCompose \
-stackS3Key my-app-compose \
-file docker-compose.yml
```
This will return a **native stack id**, which will look something like this:
`s3://t9-ctrl-000001/my-app-compose.yml`
The next step is to **bind** your published stack to your app:
```bash theme={null}
tensor9 stack bind \
-appName compose-quickstart \
-stackType DockerCompose \
-nativeStackId ""
```
This registers your stack with your app so that you can release your app/stack combination to appliances. In the future, you can publish new versions of your stack (using the tensor9 stack publish command) without having to bind the app again.
## Create a test appliance and test your app
1. Create a test appliance:
```bash theme={null}
tensor9 test appliance create \
-appName compose-quickstart \
-name compose-quickstart-test
```
2. View the output of `tensor9 report` to determine when your test appliance is ready for a release. While the test appliance is creating, `tensor9 report` displays output such as:
```
Vendor: My Company [id: 000000000165ebb8]:
Name: My Company
Apps: (1)
compose-quickstart [id: 0000000000000213]:
Name: compose-quickstart
Domain: -
Stacks: (1)
DockerCompose: (1)
my-app-compose | s3://t9-ctrl-000001/my-app-compose.yml
Customer Appliances: (0)
Test Appliances: (1)
Creating: (1)
compose-quickstart-test [id: 000000000000007e]
```
When the appliance is ready, `tensor9 report` displays output such as:
```
Vendor: My Company [id: 000000000165ebb8]:
Name: My Company
Apps: (1)
compose-quickstart [id: 0000000000000213]:
Name: compose-quickstart
Domain: -
Stacks: (1)
DockerCompose: (1)
my-app-compose | s3://t9-ctrl-000001/my-app-compose.yml
Customer Appliances: (0)
Test Appliances: (1)
Test Appliance: compose-quickstart-test [id: 0000000000000001]:
Status: Live
Name: compose-quickstart-test
Customer: My Company [id: 000000000165ebb8]
Cloud Details: AWS us-west-2
Form Factor: AWS Connected
Appliance Id: 0000000000000001
Installs:
Releases:
Effective Releases: (0)
Prepped Releases: (0)
Hardware: (updated 1 second ago)
Uptime: 3 minutes
Capacity Machines: 2
```
3. Create a release to your test appliance:
```bash theme={null}
tensor9 stack release create \
-appName compose-quickstart \
-testApplianceName compose-quickstart-test \
-vendorVersion "1.0.0" \
-description "First release of my Docker Compose app via Tensor9" \
-notes "By engineer@vendor.co"
```
After a few minutes, the deployment stack downloads into a new directory that is named after your appliance.
4. Change into the new directory that contains the deployment stack for your test appliance:
```bash theme={null}
cd compose-quickstart-test
```
5. Deploy as normal by running `tofu init` followed by `tofu apply`.
6. View the deployed services:
```bash theme={null}
kubectl get deployments
kubectl get services
kubectl get pods
```
7. Access your application through the load balancer. Get the load balancer endpoint for services with exposed ports:
```bash theme={null}
kubectl get service -o jsonpath='{.status.loadBalancer.ingress[0].hostname}'
```
## Release an infrastructure change
You can release infrastructure changes to your Docker Compose stack at any time.
Make any desired changes to your compose file. For example, you could:
* Add a new service
* Change resource limits
* Add environment variables
* Update container image versions
**Important:** The next step will overwrite the previous origin stack. All new releases will come from the most recently published version of your origin stack.
```bash theme={null}
tensor9 stack publish \
-stackType DockerCompose \
-stackS3Key my-app-compose \
-file docker-compose.yml
```
If the origin stack is published successfully, the following message is displayed:
```bash theme={null}
Your origin stack is ready to be released. Use the following native stack id s3://t9-ctrl-000001/my-app-compose.yml
```
Your updated origin stack is now ready. You don't need to rebind it - new releases will automatically use the updated version.
```bash theme={null}
tensor9 stack release create \
-appName compose-quickstart \
-testApplianceName compose-quickstart-test \
-vendorVersion "1.0.1" \
-description "Added caching layer and updated API resources" \
-notes "By engineer@vendor.co"
```
After a few minutes, the deployment stack for your updated compose file downloads into the appliance directory.
Change into the directory that contains the deployment stack for your test appliance:
```bash theme={null}
cd compose-quickstart-test
```
Deploy the updated infrastructure:
```bash theme={null}
tofu apply
```
```bash theme={null}
kubectl get deployments
kubectl get services
kubectl get pods
```
You should see your new services, updated resource limits, or other changes reflected in the Kubernetes resources.
## Next steps
Now that you've deployed a Docker Compose app with Tensor9:
* Review the [Docker Compose origin stack documentation](/origin-stack/docker-compose) for advanced features
* Learn about [stack tuning documents](/origin-stack/docker-compose#tuning-container-resources) to customize deployments per customer
* Explore [form factors](/fundamentals/key-concepts#form-factor) to deploy to different cloud providers
* Set up [observability](/fundamentals/observability) to monitor your appliances
As you follow this guide, you will:
* Set up a Tensor9 control plane in your AWS account and bind a Docker Compose file as the origin stack for your app.
* Test your app running in an appliance.
* Release infrastructure changes.
## Prerequisites
* Send an email to [hello@tensor9.com](mailto:hello@tensor9.com) and request an API key. You must have an API key to complete the quick start.
* Create an AWS account for Tensor9. We will refer to this as the Tensor9 AWS account.
**Important:**
* Your Tensor9 AWS account should be a dedicated AWS account used only for Tensor9. This reduces the risk of conflicts between your app deployed in a Tensor9 appliance and any other software, infrastructure, or resources you might have in a general-purpose AWS account.
* Your Tensor9 AWS account must be located in a United States region. Support for non-US regions will be available in the near future.
* Install [AWS CLI](https://docs.aws.amazon.com/cli/latest/userguide/cli-chap-getting-started.html) in your environment, and [set up an AWS CLI profile](https://docs.aws.amazon.com/cli/v1/userguide/cli-configure-files.html) that has admin permissions to your new AWS account.
* Have a docker-compose.yml file ready with your multi-container application.
* Ensure all container images referenced in your compose file are pushed to container registries (ECR, Docker Hub, GitHub Container Registry, etc.).
## Install OpenTofu or Terraform
In your environment, you'll need to install Terraform/OpenTofu CLI.
This guide assumes you are using OpenTofu and uses the `tofu` command throughout.
## Install Tensor9 CLI
Install the **tensor9** CLI via Homebrew (recommended):
```bash theme={null}
brew tap tensor9ine/tensor9
brew install tensor9
```
Alternatively, install via the install script:
```bash theme={null}
curl -sSL https://t9-artifacts-prod-1.s3.us-west-2.amazonaws.com/install-latest.sh | sh
```
Then set your Tensor9 API key:
```bash theme={null}
export T9_API_KEY=
```
**Note:** An API key is required. If you do not have an API key, send email to [hello@tensor9.com](mailto:hello@tensor9.com) to request one.
## Set up a Tensor9 control plane and create a new app
1. Set up a Tensor9 control plane in your new AWS account (this takes several minutes to complete):
```bash theme={null}
tensor9 vendor setup \
-cloud aws \
-region \
-awsProfile
```
2. Create a new Tensor9 **app**.
```bash theme={null}
tensor9 app create -name compose-quickstart -displayName "Compose example app"
```
**Note:** The length of the `displayName` field must be 32 characters or fewer.
## Publish your Docker Compose file and bind it to your app
Tensor9 works by compiling your docker-compose.yml file for each appliance you want to deploy to. Your next step is to **publish** your compose file to your Tensor9 control plane:
```bash theme={null}
tensor9 stack publish \
-stackType DockerCompose \
-stackS3Key my-app-compose \
-file docker-compose.yml
```
This will return a **native stack id**, which will look something like this:
`s3://t9-ctrl-000001/my-app-compose.yml`
The next step is to **bind** your published stack to your app:
```bash theme={null}
tensor9 stack bind \
-appName compose-quickstart \
-stackType DockerCompose \
-nativeStackId ""
```
This registers your stack with your app so that you can release your app/stack combination to appliances. In the future, you can publish new versions of your stack (using the tensor9 stack publish command) without having to bind the app again.
## Create a test appliance and test your app
1. Create a test appliance:
```bash theme={null}
tensor9 test appliance create \
-appName compose-quickstart \
-name compose-quickstart-test
```
2. View the output of `tensor9 report` to determine when your test appliance is ready for a release. While the test appliance is creating, `tensor9 report` displays output such as:
```
Vendor: My Company [id: 000000000165ebb8]:
Name: My Company
Apps: (1)
compose-quickstart [id: 0000000000000213]:
Name: compose-quickstart
Domain: -
Stacks: (1)
DockerCompose: (1)
my-app-compose | s3://t9-ctrl-000001/my-app-compose.yml
Customer Appliances: (0)
Test Appliances: (1)
Creating: (1)
compose-quickstart-test [id: 000000000000007e]
```
When the appliance is ready, `tensor9 report` displays output such as:
```
Vendor: My Company [id: 000000000165ebb8]:
Name: My Company
Apps: (1)
compose-quickstart [id: 0000000000000213]:
Name: compose-quickstart
Domain: -
Stacks: (1)
DockerCompose: (1)
my-app-compose | s3://t9-ctrl-000001/my-app-compose.yml
Customer Appliances: (0)
Test Appliances: (1)
Test Appliance: compose-quickstart-test [id: 0000000000000001]:
Status: Live
Name: compose-quickstart-test
Customer: My Company [id: 000000000165ebb8]
Cloud Details: AWS us-west-2
Form Factor: AWS Connected
Appliance Id: 0000000000000001
Installs:
Releases:
Effective Releases: (0)
Prepped Releases: (0)
Hardware: (updated 1 second ago)
Uptime: 3 minutes
Capacity Machines: 2
```
3. Create a release to your test appliance:
```bash theme={null}
tensor9 stack release create \
-appName compose-quickstart \
-testApplianceName compose-quickstart-test \
-vendorVersion "1.0.0" \
-description "First release of my Docker Compose app via Tensor9" \
-notes "By engineer@vendor.co"
```
After a few minutes, the deployment stack downloads into a new directory that is named after your appliance.
4. Change into the new directory that contains the deployment stack for your test appliance:
```bash theme={null}
cd compose-quickstart-test
```
5. Deploy as normal by running `tofu init` followed by `tofu apply`.
6. View the deployed services:
```bash theme={null}
kubectl get deployments
kubectl get services
kubectl get pods
```
7. Access your application through the load balancer. Get the load balancer endpoint for services with exposed ports:
```bash theme={null}
kubectl get service -o jsonpath='{.status.loadBalancer.ingress[0].hostname}'
```
## Release an infrastructure change
You can release infrastructure changes to your Docker Compose stack at any time.
Make any desired changes to your compose file. For example, you could:
* Add a new service
* Change resource limits
* Add environment variables
* Update container image versions
**Important:** The next step will overwrite the previous origin stack. All new releases will come from the most recently published version of your origin stack.
```bash theme={null}
tensor9 stack publish \
-stackType DockerCompose \
-stackS3Key my-app-compose \
-file docker-compose.yml
```
If the origin stack is published successfully, the following message is displayed:
```bash theme={null}
Your origin stack is ready to be released. Use the following native stack id s3://t9-ctrl-000001/my-app-compose.yml
```
Your updated origin stack is now ready. You don't need to rebind it - new releases will automatically use the updated version.
```bash theme={null}
tensor9 stack release create \
-appName compose-quickstart \
-testApplianceName compose-quickstart-test \
-vendorVersion "1.0.1" \
-description "Added caching layer and updated API resources" \
-notes "By engineer@vendor.co"
```
After a few minutes, the deployment stack for your updated compose file downloads into the appliance directory.
Change into the directory that contains the deployment stack for your test appliance:
```bash theme={null}
cd compose-quickstart-test
```
Deploy the updated infrastructure:
```bash theme={null}
tofu apply
```
```bash theme={null}
kubectl get deployments
kubectl get services
kubectl get pods
```
You should see your new services, updated resource limits, or other changes reflected in the Kubernetes resources.
## Next steps
Now that you've deployed a Docker Compose app with Tensor9:
* Review the [Docker Compose origin stack documentation](/origin-stack/docker-compose) for advanced features
* Learn about [stack tuning documents](/origin-stack/docker-compose#tuning-container-resources) to customize deployments per customer
* Explore [form factors](/fundamentals/key-concepts#form-factor) to deploy to different cloud providers
* Set up [observability](/fundamentals/observability) to monitor your appliances