

What is a Terraform origin stack?
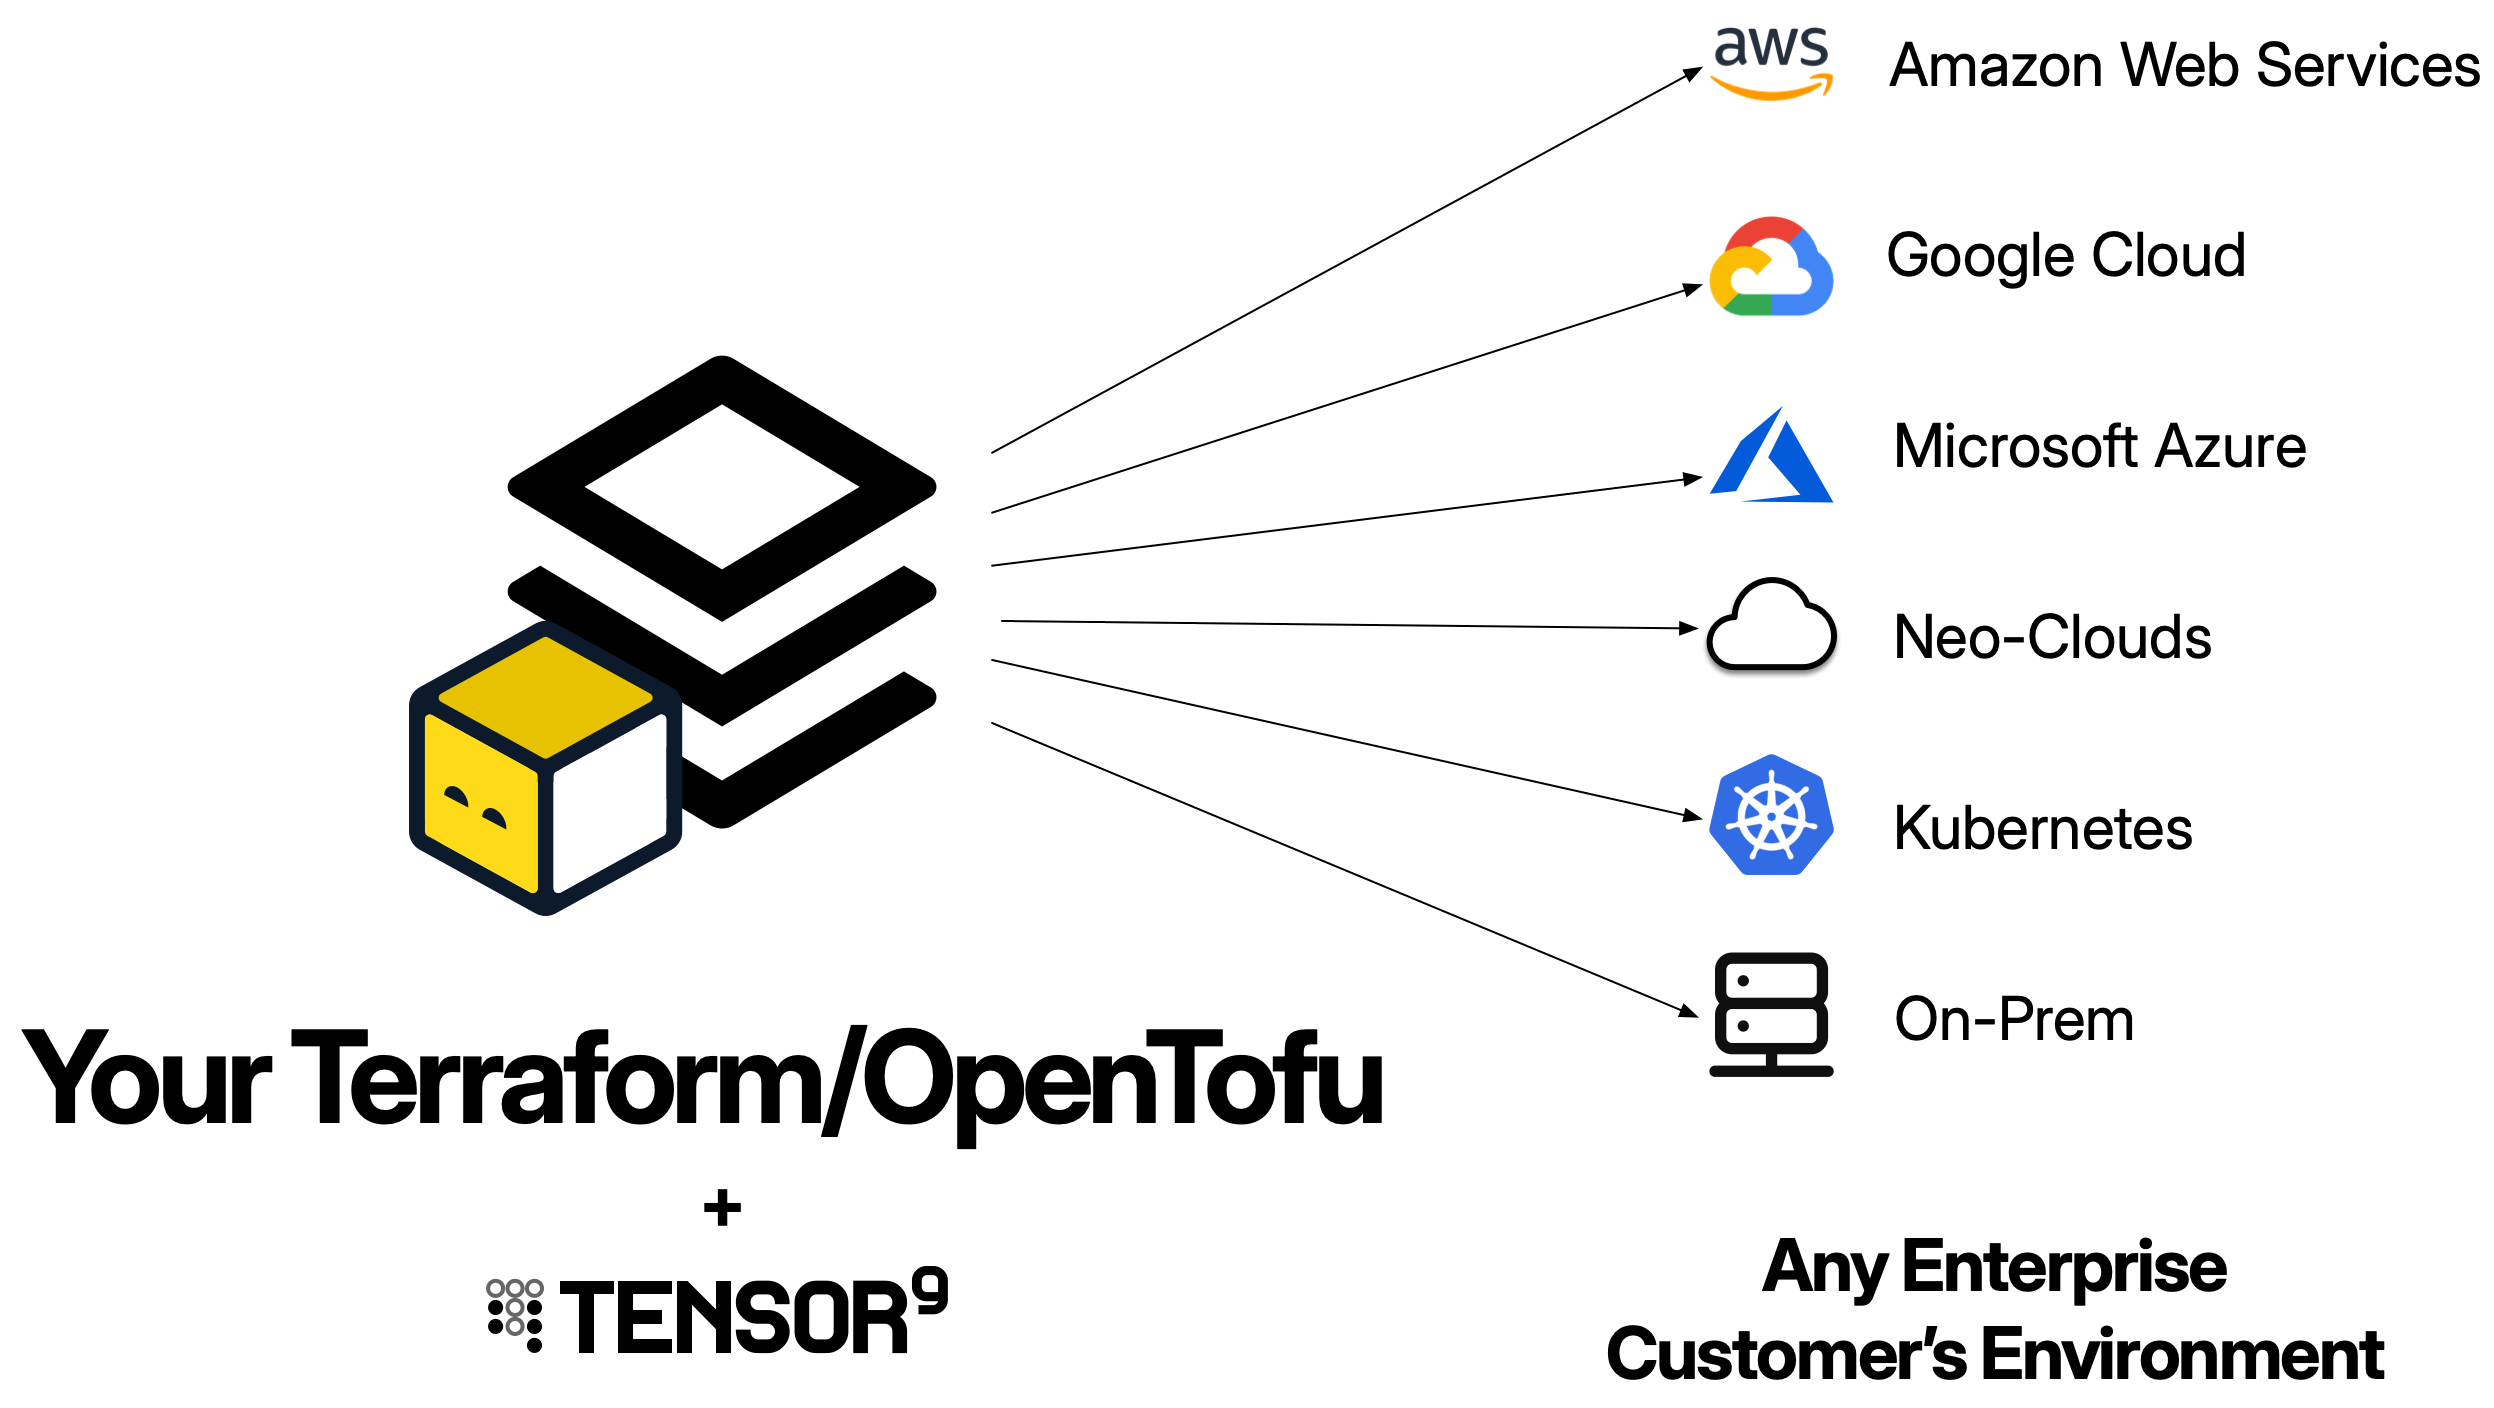
A Terraform origin stack is your existing Terraform configuration - the.tf files that define your application’s infrastructure. Tensor9 BYOC uses this as the blueprint to generate deployment stacks tailored to each customer’s environment.
When you publish a Terraform origin stack to Tensor9 BYOC, your control plane:
- Archives your Terraform workspace into a
.tf.tgzfile - Uploads it to your control plane’s S3 bucket
- Uses it as the template for generating deployment stacks for each appliance
Your origin stack should be your existing Terraform configuration. Tensor9 BYOC is designed to work with the infrastructure-as-code you already have - you don’t need to write a new stack just for Tensor9 BYOC. The goal is to maintain a single stack that works for both your cloud deployment and private customer deployments.
How Terraform origin stacks work
Using Terraform with Tensor9 BYOC follows a straightforward workflow:1
Publish your origin stack
You publish your Terraform workspace to your control plane using
tensor9 stack publish. This uploads your .tf files as a compressed archive to your control plane’s S3 bucket.2
Create a release
When you want to deploy to an appliance, you create a release using
tensor9 stack release create. During release creation, your control plane compiles your origin stack into a deployment stack tailored to that specific appliance.The compilation process:- Translates cloud-specific resources to match the appliance’s target environment (e.g., AWS RDS → Google Cloud SQL)
- Resolves the
@namespaceannotation to a per-install value, ensuring resource uniqueness - Instruments the stack for observability (logs, metrics, traces)
- Rewrites artifact references to point to appliance-local locations
3
Deploy the deployment stack
Your control plane downloads the compiled deployment stack into a directory named after your appliance. This deployment stack is itself a complete Terraform workspace.You deploy it using standard Terraform commands:For a test appliance:For a customer appliance:This creates all the infrastructure resources in the appliance environment.
tofu apply.
Prerequisites
Before using Terraform as an origin stack, ensure you have:- Terraform or OpenTofu installed: Version 1.0+ recommended
- Valid Terraform configuration: Your configuration must pass
tofu validate - Tensor9 CLI installed: For publishing your origin stack to your control plane
- Tensor9 API key configured: Set as
T9_API_KEYenvironment variable
This guide uses the
tofu CLI in all examples. If you’re using Terraform instead of OpenTofu, simply replace tofu with terraform in all commands - they work identically.Structure of a Terraform origin stack
Your Terraform origin stack should follow standard Terraform conventions:Publishing your Terraform origin stack
To make your Terraform configuration available to Tensor9 BYOC, publish it to your control plane:What gets published
Thetensor9 stack publish command:
- Creates a
.tf.tgzarchive of all.tffiles in the specified directory - Uploads the archive to your control plane’s S3 bucket
- Returns a native stack ID you’ll use to bind the stack to your app
Publishing updates
When you make changes to your Terraform configuration, publish a new version:Binding your origin stack to an app
After publishing for the first time, bind your origin stack to your app:Parameterization
Parameterization is the process of making your origin stack capable of being deployed to multiple appliances without resource naming conflicts. This is the most critical requirement for a Terraform origin stack in Tensor9 BYOC.The @namespace annotation
Declare a variable and annotate it with@namespace. At compile time, Tensor9 BYOC replaces the variable’s default with a deterministic namespace derived from your app name, the customer’s name, and the appliance’s ID:
max_size is required and must be 16, 32, or 64. It caps the length of the generated value so that names built from it stay inside the limits of the tightest namespace you use (S3 bucket names, for example, cap at 63 characters). delimiter is optional and defaults to an empty string; it is appended to the generated value so you can write "${var.namespace}myapp-data" without a separator of your own.
The empty default keeps the stack deployable outside Tensor9 BYOC. When you run tofu apply against your own account, var.namespace stays "" and your resource names are unchanged. Tensor9 BYOC fills the value in only during compilation, so you never set it by hand.
Using the namespace for resource naming
Reference the variable as a prefix on every name that has to be unique across all deployments:What to parameterize
Prefix withvar.namespace every name that has to be distinct, whatever its scope:
- Globally unique names: S3 bucket names are unique across all of AWS
- Resource identifiers: RDS identifiers, Lambda function names, EKS cluster names
- IAM resources: Role names, policy names
- Networking: VPC names, subnet tags, security group names
- Logging: CloudWatch log group names
- Secret paths: Secrets Manager secret names
DNS names are managed automatically: Tensor9 BYOC automatically generates DNS names for your appliances using either your vendor vanity domain or the customer’s vanity domain (if they specified one). You don’t need to include the namespace in DNS records. See Endpoints and DNS for details.
Complete example origin stack
Here’s a complete Terraform origin stack for a typical application:main.tf
variables.tf
outputs.tf
versions.tf
Tagging resources
You don’t need to tag resources for Tensor9 BYOC’s benefit. When Tensor9 BYOC compiles your origin stack, it stamps its own tags onto every resource whose provider schema supports them:
Where you already set tags of your own, Tensor9 BYOC merges its tags in rather than replacing yours.
These tags allow:
- Steady-state permissions to filter telemetry by appliance
- Cost tracking for customers to monitor spending per appliance
- Resource discovery by Tensor9 BYOC controllers
Backend configuration
Tensor9 BYOC does not modify backend configuration in your origin stack. You have full control over Terraform state management.Option 1: Include backend in origin stack
Backend blocks don’t support variable interpolation: Terraform backend configuration cannot use
${var.namespace} or other variable references. If you include a backend in your origin stack, use a fixed key path. Tensor9 BYOC recommends using Option 2 or 3 below to provide instance-specific state paths at deployment time.Option 2: Provide backend at deployment time
Don’t includebackend.tf in your origin stack. Instead, provide backend configuration when deploying:
For a test appliance:
Option 3: Add backend after compilation
Createbackend.tf in the compiled deployment stack directory before running tofu init:
For a test appliance:
Using modules
Terraform modules work seamlessly with Tensor9 BYOC. You can use both local and remote modules:Local modules
.tf.tgz archive when you publish.
Remote modules
tofu init when deploying.
Important: Always pass the namespace to modules to ensure resources they create are unique per appliance.
Outputs
Define outputs to expose important values after deployment:tofu output:
tensor9 report:
Service equivalents
When you create a release for an appliance, Tensor9 BYOC compiles your origin stack by replacing AWS-specific resources with their equivalents in the target environment. Example: AWS to Google Cloud Origin stack (AWS):Best practices
Always prefix resource names with the namespace
Always prefix resource names with the namespace
Every resource that has a name, identifier, or globally unique value should be prefixed with Without the namespace prefix, deploying to multiple appliances will fail due to resource naming conflicts.
${var.namespace}:Let Tensor9 BYOC tag your resources
Let Tensor9 BYOC tag your resources
You don’t need to add appliance-identifying tags yourself. Tensor9 BYOC stamps
t9-appliance-id, t9-buyer-name, t9-app-name, and related tags onto every resource whose provider schema supports tags, merging them with your own.This enables:- Observability permissions scoping
- Cost tracking per appliance
- Resource discovery
Use outputs for important values
Use outputs for important values
Define outputs for values that operators or other systems need to access:These appear in
tensor9 report and tofu output.Validate before publishing
Validate before publishing
Always validate your Terraform configuration before publishing:This catches syntax errors and missing variables early.
Test in test appliances first
Test in test appliances first
Never deploy directly to customer appliances without testing:
- Publish your origin stack
- Create a release for a test appliance
- Deploy and validate
- Then create releases for customer appliances
Use version constraints for providers
Use version constraints for providers
Pin provider versions to avoid unexpected changes:This ensures consistent behavior across deployments.
Organize with modules
Organize with modules
For large applications, use modules to organize resources:This improves maintainability and reusability.
Troubleshooting
Publishing fails with 'invalid Terraform configuration'
Publishing fails with 'invalid Terraform configuration'
Symptom:
tensor9 stack publish fails with validation errors.Solutions:- Run
tofu validatelocally to identify syntax errors - Ensure all required variables are declared
- Check that all referenced resources exist
- Verify provider versions are compatible
Compilation fails with 'unsupported resource type'
Compilation fails with 'unsupported resource type'
Symptom: Release creation fails because a resource type isn’t in the service adapter registry.Solutions:
- Check if the resource is supported in your target form factor
- Use a more generic resource type if available
- Contact Tensor9 support to request support for the resource type
Deployment fails with resource naming conflicts
Deployment fails with resource naming conflicts
Symptom:
tofu apply fails with “resource already exists” errors.Solutions:- Ensure all resource names are prefixed with
${var.namespace} - Check that you’re not hard-coding any globally unique identifiers
- Verify the
@namespaceannotated variable is declared invariables.tf
State management issues
State management issues
Symptom:
tofu init fails with backend errors or state is not found.Solutions:- Verify backend configuration is correct
- Ensure state bucket exists and is accessible
- Check that each appliance is given its own backend state path at deployment time
- See Backend Configuration
Next steps
Now that you understand Terraform origin stacks, explore these topics:- Quick Start: Terraform: Step-by-step guide to your first deployment
- Deployments: How to create releases and deploy
- Service adapters: How Terraform resources are mapped across clouds
- Testing: Validate your origin stack in test appliances