

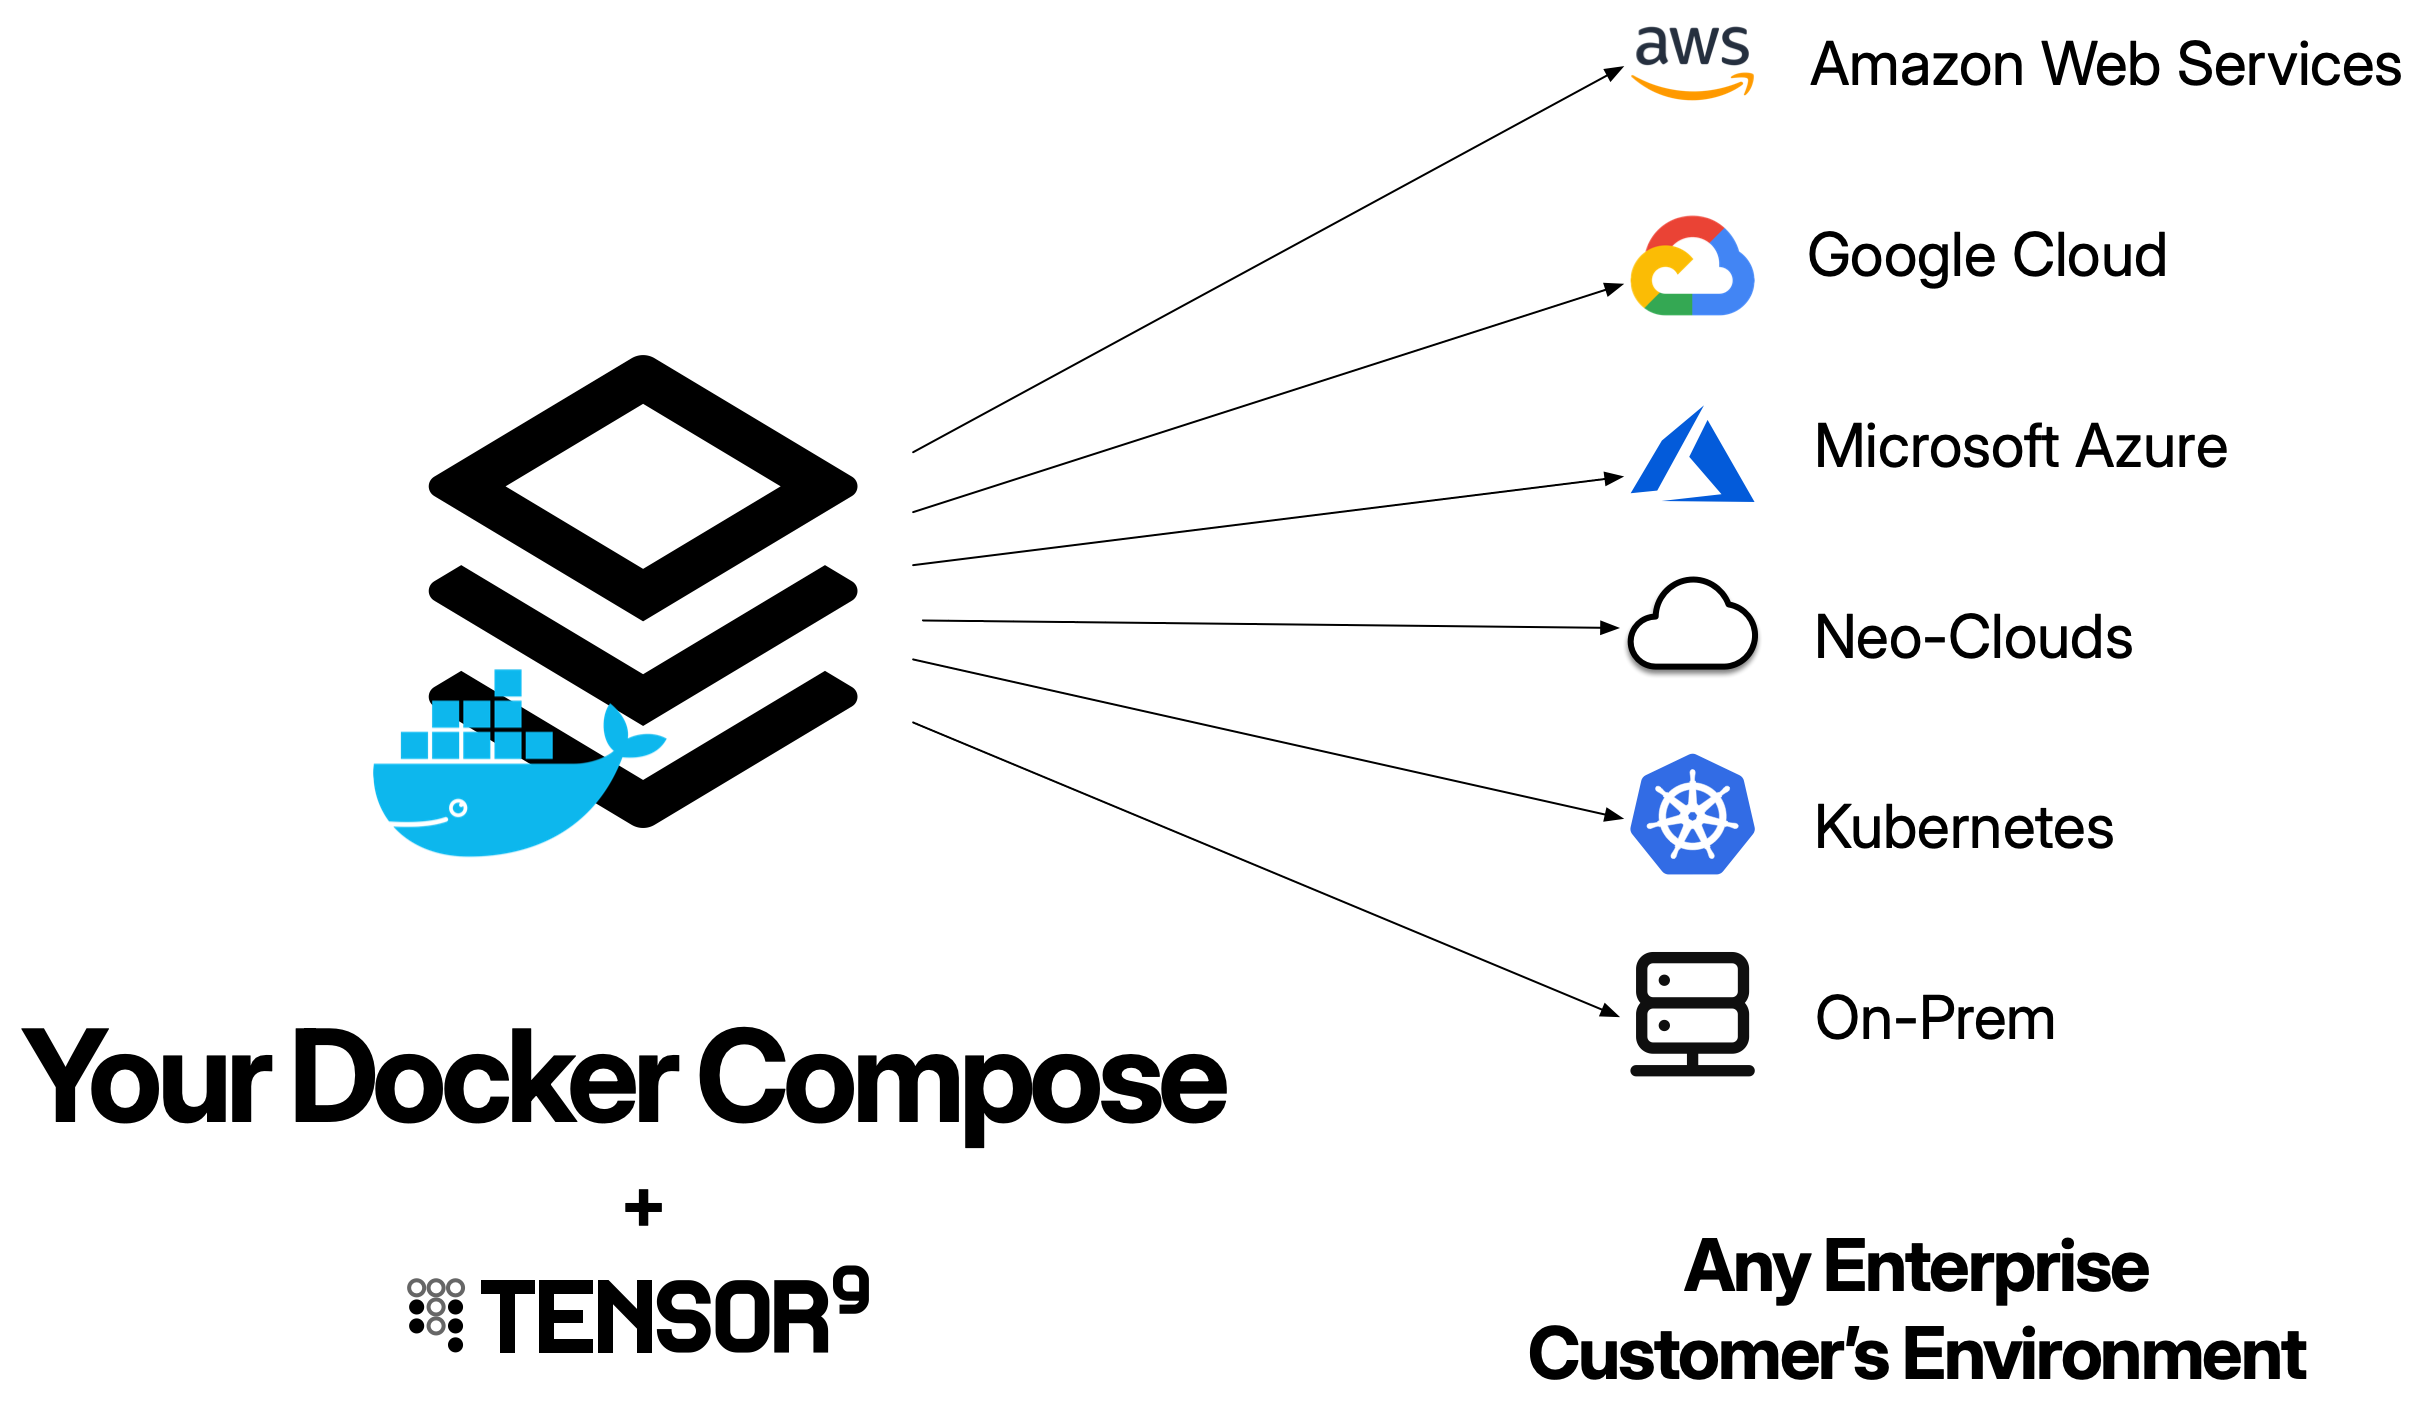
- Set up a Tensor9 control plane in your AWS account and bind a Docker Compose file as the origin stack for your app.
- Test your app running in an appliance.
- Release infrastructure changes.
Prerequisites
- Send an email to [email protected] and request an API key. You must have an API key to complete the quick start.
-
Create an AWS account for Tensor9. We will refer to this as the Tensor9 AWS account.
Important:
- Your Tensor9 AWS account should be a dedicated AWS account used only for Tensor9. This reduces the risk of conflicts between your app deployed in a Tensor9 appliance and any other software, infrastructure, or resources you might have in a general-purpose AWS account.
- Your Tensor9 AWS account must be located in a United States region. Support for non-US regions will be available in the near future.
- Install AWS CLI in your environment, and set up an AWS CLI profile that has admin permissions to your new AWS account.
- Have a docker-compose.yml file ready with your multi-container application.
- Ensure all container images referenced in your compose file are pushed to container registries (ECR, Docker Hub, GitHub Container Registry, etc.).
Install OpenTofu or Terraform
In your environment, you’ll need to install Terraform/OpenTofu CLI. This guide assumes you are using OpenTofu and uses thetofu command throughout.
Install Tensor9 CLI
Install the tensor9 CLI via Homebrew (recommended):Set up a Tensor9 control plane and create a new app
- Set up a Tensor9 control plane in your new AWS account (this takes several minutes to complete):
- Create a new Tensor9 app.
displayName field must be 32 characters or fewer.
Publish your Docker Compose file and bind it to your app
Tensor9 works by compiling your docker-compose.yml file for each appliance you want to deploy to. Your next step is to publish your compose file to your Tensor9 control plane:s3://t9-ctrl-000001/my-app-compose.yml
The next step is to bind your published stack to your app:
Create a test appliance and test your app
- Create a test appliance:
- View the output of
tensor9 reportto determine when your test appliance is ready for a release. While the test appliance is creating,tensor9 reportdisplays output such as:
tensor9 report displays output such as:
- Create a release to your test appliance:
- Change into the new directory that contains the deployment stack for your test appliance:
-
Deploy as normal by running
tofu initfollowed bytofu apply. - View the deployed services:
- Access your application through the load balancer. Get the load balancer endpoint for services with exposed ports:
Release an infrastructure change
You can release infrastructure changes to your Docker Compose stack at any time.1
Update your docker-compose.yml file
Make any desired changes to your compose file. For example, you could:
- Add a new service
- Change resource limits
- Add environment variables
- Update container image versions
2
Re-publish your origin stack
3
Create a new release
4
Deploy
Change into the directory that contains the deployment stack for your test appliance:Deploy the updated infrastructure:
5
Verify the changes
Next steps
Now that you’ve deployed a Docker Compose app with Tensor9:- Review the Docker Compose origin stack documentation for advanced features
- Learn about stack tuning documents to customize deployments per customer
- Explore form factors to deploy to different cloud providers
- Set up observability to monitor your appliances