

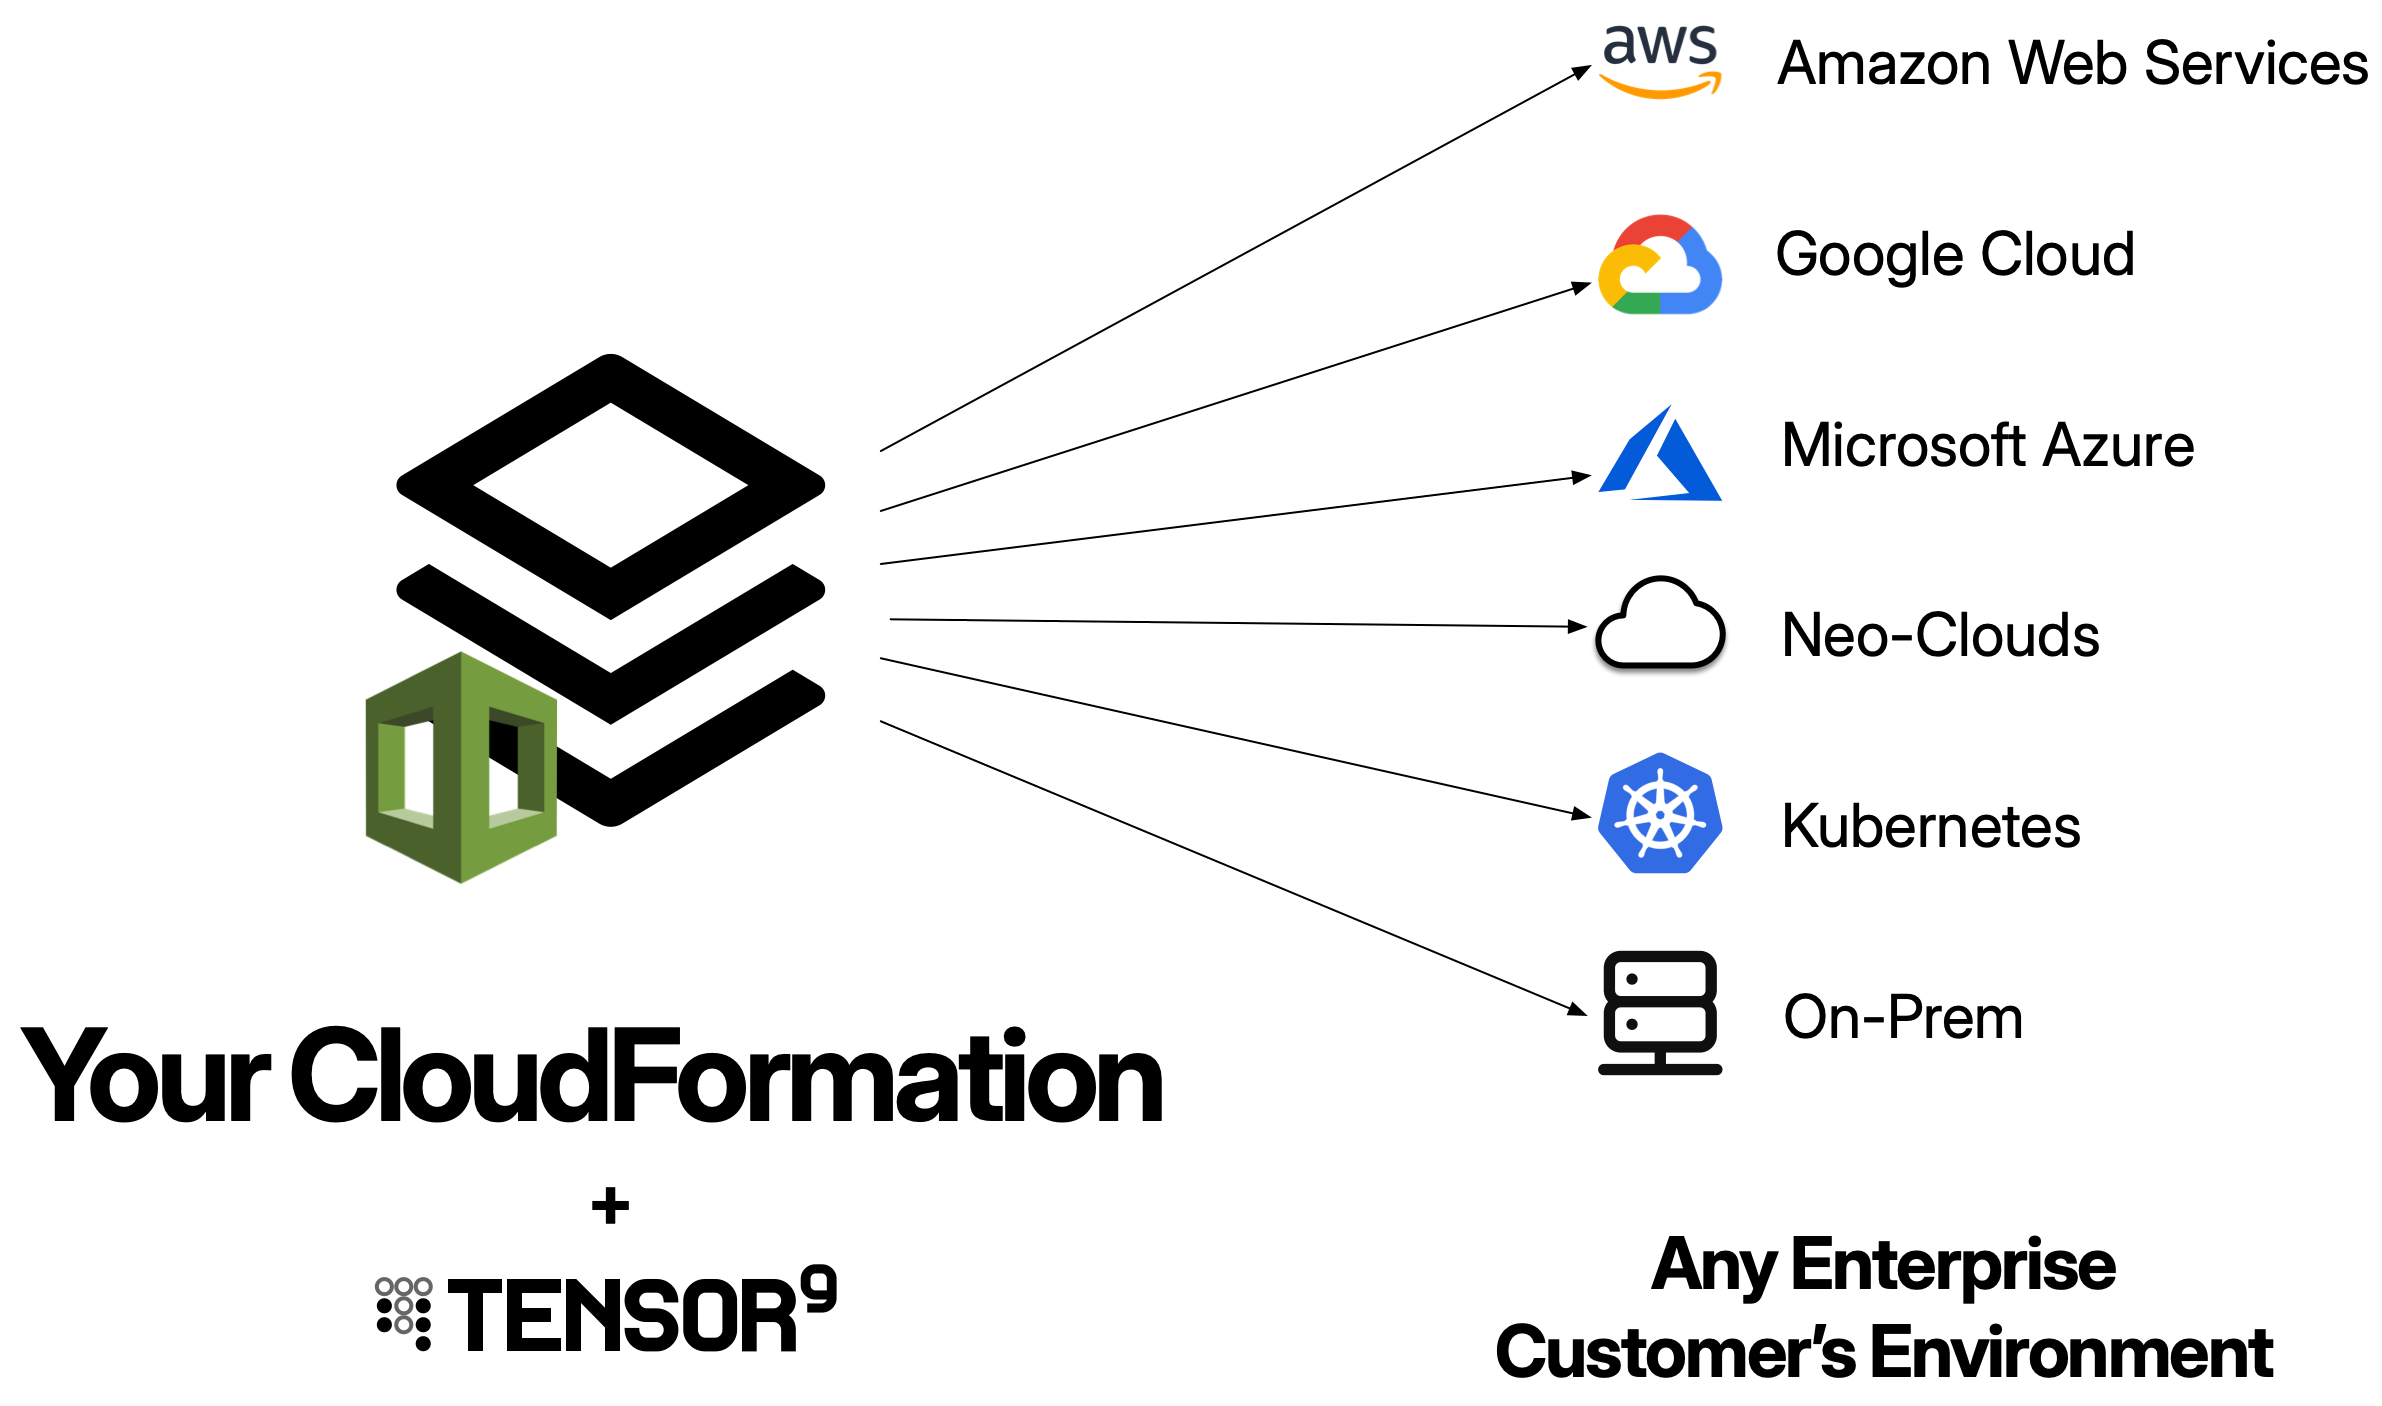

What is a CloudFormation origin stack?
A CloudFormation origin stack is your existing CloudFormation template - the YAML or JSON file that defines your application’s AWS infrastructure. Tensor9 uses this as the blueprint to generate deployment stacks tailored to each customer’s appliance. When you publish a CloudFormation origin stack to Tensor9, you use the AWS CLI to:- Create or update a CloudFormation stack in your control plane’s AWS account
- Store the template as the source for generating deployment stacks
- Use it as the blueprint for creating appliance-specific stacks
Your origin stack should be your existing CloudFormation template. Tensor9 is designed to work with the infrastructure-as-code you already have - you don’t need to write a new template just for Tensor9. The goal is to maintain a single template that works for both your cloud deployment and private customer deployments.
CloudFormation origin stacks can only be deployed to AWS appliances. If you need to support multiple cloud providers, use Terraform or OpenTofu as your origin stack format.
How CloudFormation origin stacks work
Using CloudFormation with Tensor9 follows a straightforward workflow:1
Publish your origin stack
You publish your CloudFormation template by using the AWS CLI to create or update a CloudFormation stack in your control plane’s AWS account. This stack serves as the origin stack that Tensor9 will use as the blueprint for all appliance deployments.
2
Create a release
When you want to deploy to an appliance, you create a release using
tensor9 stack release create. During release creation, your control plane compiles your origin stack into a deployment stack tailored to that specific appliance, and automatically creates the CloudFormation stack in your control plane.The compilation process:- Injects the
InstanceIdparameter to ensure resource uniqueness - Instruments the stack for observability (logs, metrics, traces)
- Rewrites artifact references to point to appliance-local locations
- Updates resource names to include the instance ID
3
Monitor deployment progress
Your control plane automatically deploys the compiled deployment stack by creating a CloudFormation stack in your control plane’s AWS account. You can monitor the deployment progress using:The CloudFormation stack creates all the infrastructure resources in your control plane’s AWS account automatically.
You write and maintain one origin stack. Tensor9 compiles it into many deployment stacks (one per appliance), each customized for that appliance. The control plane automatically creates and manages these CloudFormation stacks in your control plane’s AWS account - you don’t need to manually download or deploy anything.
Prerequisites
Before using CloudFormation as an origin stack, ensure you have:- AWS CLI installed: Version 2.0+ recommended for publishing your origin stack and monitoring deployments
- Valid CloudFormation template: Your template must pass CloudFormation validation
- Tensor9 CLI installed: For publishing your origin stack and creating releases
- Tensor9 API key configured: Set as
T9_API_KEYenvironment variable - AWS credentials configured: For publishing your origin stack to your control plane’s AWS account
CloudFormation template structure
Your CloudFormation origin stack should follow standard CloudFormation conventions:YAML template example
JSON template example
Publishing your CloudFormation origin stack
To make your CloudFormation template available to Tensor9, use the AWS CLI to create a CloudFormation stack in your control plane’s AWS account:What gets published
When you create or update the CloudFormation stack:- CloudFormation validates and stores your template in your control plane’s AWS account
- The stack name becomes the native stack ID you’ll use to bind the stack to your app
- Tensor9 uses this stack as the source template for generating deployment stacks
myapp-origin-stack
Publishing updates
When you make changes to your CloudFormation template, update the stack:Binding your origin stack to an app
After publishing for the first time, bind your origin stack to your app using the CloudFormation stack name as the native stack ID:aws cloudformation create-stack.
Important: You only need to bind once. Future publishes of the same stack don’t require re-binding.
Parameterization
Parameterization is the process of making your origin stack capable of being deployed to multiple appliances without resource naming conflicts. This is the most critical requirement for a CloudFormation origin stack in Tensor9.The InstanceId parameter
Tensor9 automatically provides anInstanceId parameter to every deployment to ensure resource uniqueness across appliances. Your origin stack should declare this parameter:
Using InstanceId for resource naming
Use!Ref InstanceId to make all resource names unique. This prevents conflicts when deploying to multiple customer appliances:
What to parameterize
UseInstanceId for:
- Resource identifiers: S3 bucket names, RDS identifiers, Lambda function names
- IAM resources: Role names, policy names
- Networking: VPC names, subnet tags, security group names
- Logging: CloudWatch log group names
- Secret paths: Secrets Manager secret names
DNS names are managed automatically: Tensor9 automatically generates DNS names for your appliances using either your vendor vanity domain or the customer’s vanity domain (if they specified one). You don’t need to include
InstanceId in DNS records. See Endpoints and DNS for details.Complete example origin stack
Here’s a complete CloudFormation origin stack for a typical application:Parameters
Define parameters for values that vary per deployment:InstanceId parameter. Other parameters like container images are detected and injected during compilation. Sensitive parameters like DbPassword can be stored in AWS Secrets Manager in the customer’s account and referenced via !Sub '{{resolve:secretsmanager:${InstanceId}/prod/db/password}}'.
Outputs
Define outputs to expose important values after deployment:tensor9 report.
Best practices
Use InstanceId for all resource names
Use InstanceId for all resource names
Every AWS resource with a name or identifier should include
InstanceId to prevent conflicts across customer appliances:Tag all resources with instance-id
Tag all resources with instance-id
Apply the This enables:
instance-id tag to every resource:- IAM permission scoping
- CloudWatch filtering
- Cost tracking
- Resource discovery
Use Secrets Manager for sensitive data
Use Secrets Manager for sensitive data
Never hardcode secrets. Use Secrets Manager with parameterized names:
Troubleshooting
Publishing fails with template validation errors
Publishing fails with template validation errors
Symptom:
aws cloudformation create-stack fails with CloudFormation validation errors.Solutions:- Run
aws cloudformation validate-templatelocally to identify syntax errors - Ensure all required parameters are declared
- Check that all resource references are valid
- Verify resource property names and types match CloudFormation specification
Release creation fails with resource naming conflicts
Release creation fails with resource naming conflicts
Symptom: Release creation shows CloudFormation stack creation failed with “AlreadyExists” errors in your control plane.Solutions:
- Ensure all resource names include
!Subwith${InstanceId} - Verify the
InstanceIdparameter is being properly used in your origin stack - Check that no hardcoded resource names exist in your template
- For S3 buckets, remember they must be globally unique - include both app name and InstanceId
- Review CloudFormation stack events in your control plane’s account:
aws cloudformation describe-stack-events --stack-name <stack-name>
Stack creation fails with capacity errors
Stack creation fails with capacity errors
Symptom: “InsufficientCapacity” or quota limit errors during deployment.Solutions:
- Check AWS service quotas for your control plane’s account
- Reduce initial resource counts and scale up after deployment
- Deploy resources across multiple availability zones to increase capacity
- Request quota increases from AWS if needed
Template too large
Template too large
Symptom: “Template too large” error when publishing or deploying.Solutions:
- Use CloudFormation modules for reusable components
- Store large template bodies in S3 and reference by URL
- Consider using Terraform instead of CloudFormation for complex infrastructure
Limitations and considerations
AWS appliances only
AWS appliances only
CloudFormation origin stacks can only be deployed to AWS appliances. CloudFormation is an AWS-specific infrastructure-as-code tool that only works within AWS environments. If you need to support multiple cloud providers (Google Cloud, Azure, DigitalOcean) or private Kubernetes environments, use Terraform or OpenTofu as your origin stack format instead.
Nested stacks not supported
Nested stacks not supported
Tensor9 does not currently support CloudFormation nested stacks (stacks that reference other stacks using
AWS::CloudFormation::Stack). If your infrastructure requires modularity, consider using CloudFormation modules, or migrating to Terraform which supports module composition.Next steps
Now that you understand CloudFormation origin stacks, explore these topics:- Quick Start: CloudFormation: Step-by-step guide to your first CloudFormation deployment
- Deployments: How to create releases and deploy
- AWS Form Factor: Deploy to AWS customer environments
- Testing: Validate your origin stack in test appliances